Turning an old dresser into a TV stand is a fantastic way to maximize storage and add character to your living space—without breaking the bank. Not only does it provide a sturdy surface for your TV, but it also offers plenty of room for remotes, DVDs, books, and even kids’ toys.
This DIY project was a budget-friendly, fun transformation that gave new life to an old piece. Let’s dive in!
This post may contain affiliate links. This means I will receive a portion of what is purchased through the links on this blog at no additional cost to you and this does not affect the products I choose to share or my opinions on them. Read more at my full disclosure.
The Challenge: Finding the Right TV Stand
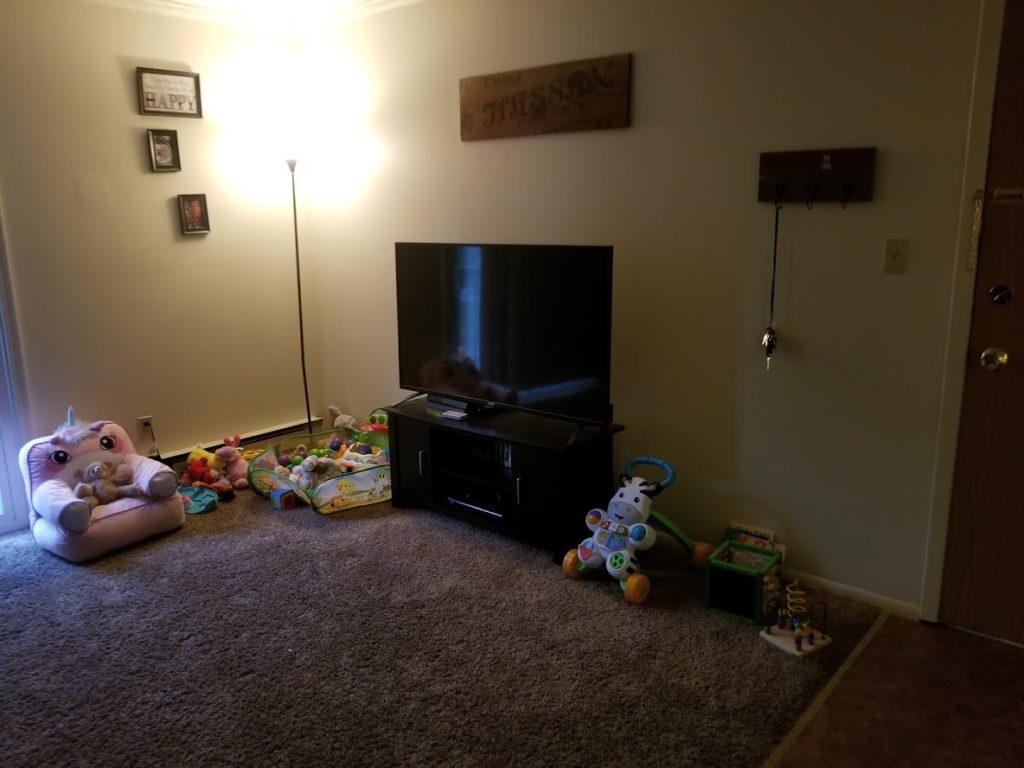
If you read my previous post on How to Decorate Your Perfect Room, you’ll know I struggled to find a TV stand that fit both my space and my style. The one I had was too small, lacked storage, and didn’t quite work in my new home.
I kept coming across inspiration for upcycled dressers and thought—why not give it a shot? After scouring Facebook Marketplace for days, I found the perfect piece for just $30.
Choosing the Right Dresser
When looking for a dresser to repurpose, keep these tips in mind:
- Size matters – Make sure it’s the right width and height for your space.
- Structure over looks – Scratches and dings can be fixed, but you need a sturdy frame.
- Check thrift stores & resale apps – Regular searches give you the best chance at snagging a deal.
This particular dresser had great bones, a perfect size, and only minor imperfections on the sides and back—nothing a little refinishing couldn’t fix!
How long does a dresser TV stand last?
A good quality dresser to TV stand DIY will last for years if properly cared for. It is important to keep the wood clean and free of dust and dirt. Also, avoid placing heavy objects on top of the unit that could cause more wear and tear. It’s also a good idea to keep extra materials you may have used for the project, such as extra hardware or extra paint to be able to do touch ups on the project if needed in the future.
Now for the tutorial! Some steps are a bit more advanced, but overall it was a simple transformation!
DIY Dresser-to-TV Stand Transformation
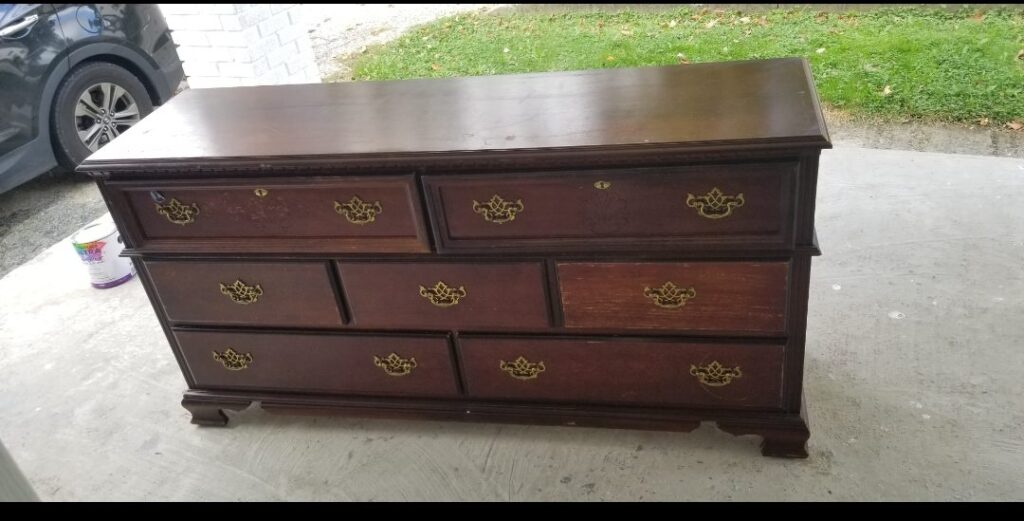
I was so excited about finding this old dresser! It may not look like it now, but I could see the potential in this dresser for a great upcycle. It was the perfect size to fill our space, I loved the layout of the drawers and how the top section was framed out in a way in order to create the look I wanted to when building a shelf in this piece.
You can also look at local thrift stores or other online resale apps to find a great deal. Keep updated and make time a few times a day to do a quick search on all the sites you are looking for. This will ensure you can get first dibs on a great deal and not miss out on a great piece. It was sturdy and only had two imperfections. They were on the sides and back and we knew after we refinished the dresser they wouldn’t be very noticeable.
Although it may look like it, this actually isn’t real wood. I was hoping to find a dresser I could stain, but I can say I am extremely happy how this turned out and am so happy with the finished result!
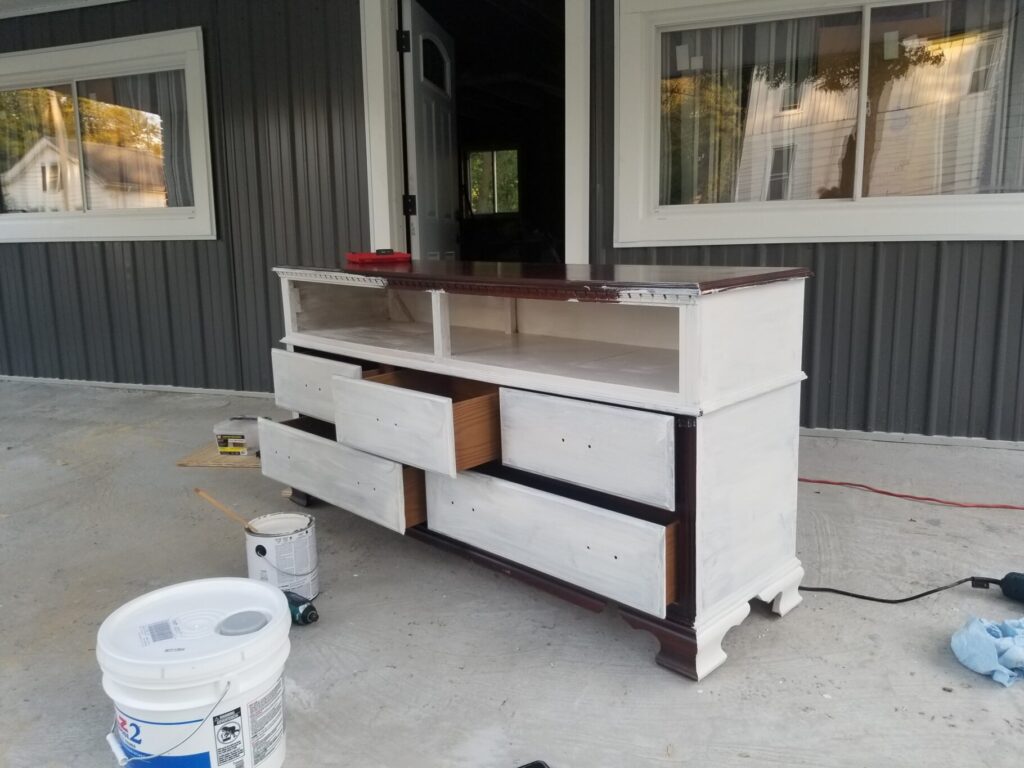
Step 1: Removing Drawers & Hardware

The first step was to take out the top two drawers as well as all of the hardware.
I started by taking out the top two drawers and all of the hardware. Because of the way the dresser was built, it naturally framed the open shelving we wanted to create—making my job even easier!
Step 2: Adding a Shelf
To replace the top drawers, I built a sturdy shelf using plywood. This was the trickiest part, as I had to measure carefully to ensure a snug fit. If you’re attempting this, double-check your measurements before cutting! In total, we cut out four different pieces of plywood to create this shelf. Once the pieces were cut to size, we screwed them all into place.
Warning: When removing drawers from any piece of furniture, make sure you’re not taking out essential structural supports—especially if you’re placing heavy items (like a TV) on top.
Step 3: Painting for a Modern Look
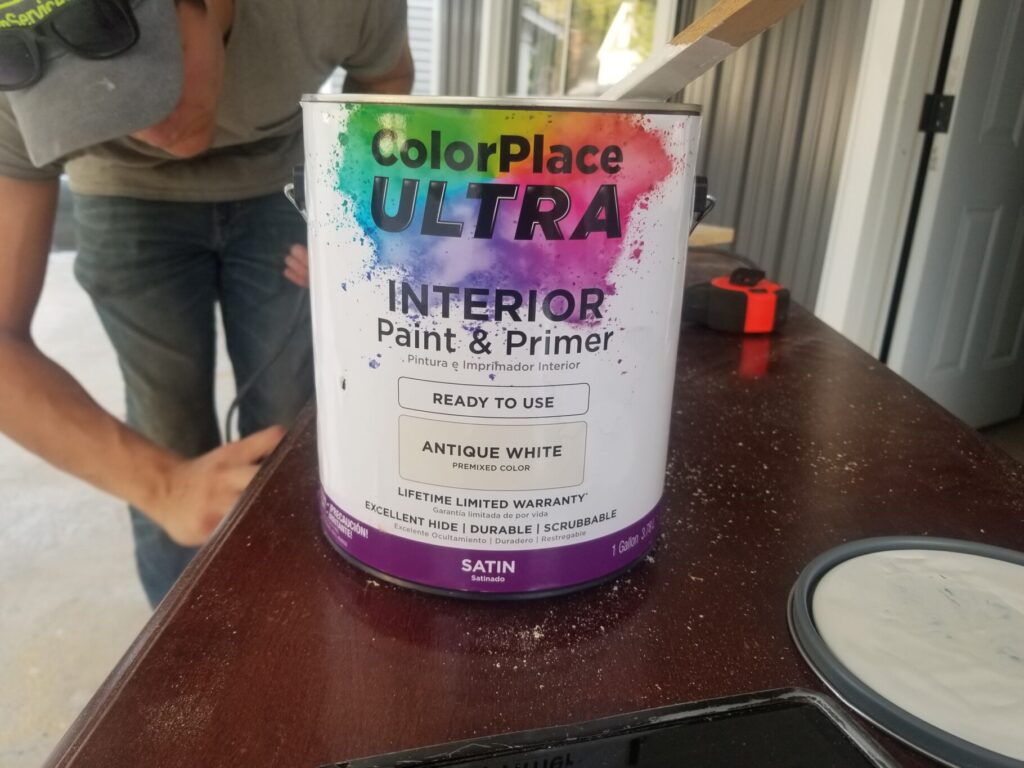
Since this dresser wasn’t real wood, staining wasn’t an option. Instead, I chose Color Place Ultra Interior Paint and Primer in Antique White. It was under $20 and gave the piece a fresh, modern look.
Want to save time? Grab your paint for pickup at Walmart to ensure your shade is in stock.
Two coats of paint provided full coverage, but if you’re going for a shabby chic vibe, one coat will do.
Step 4: Upgrading the Hardware
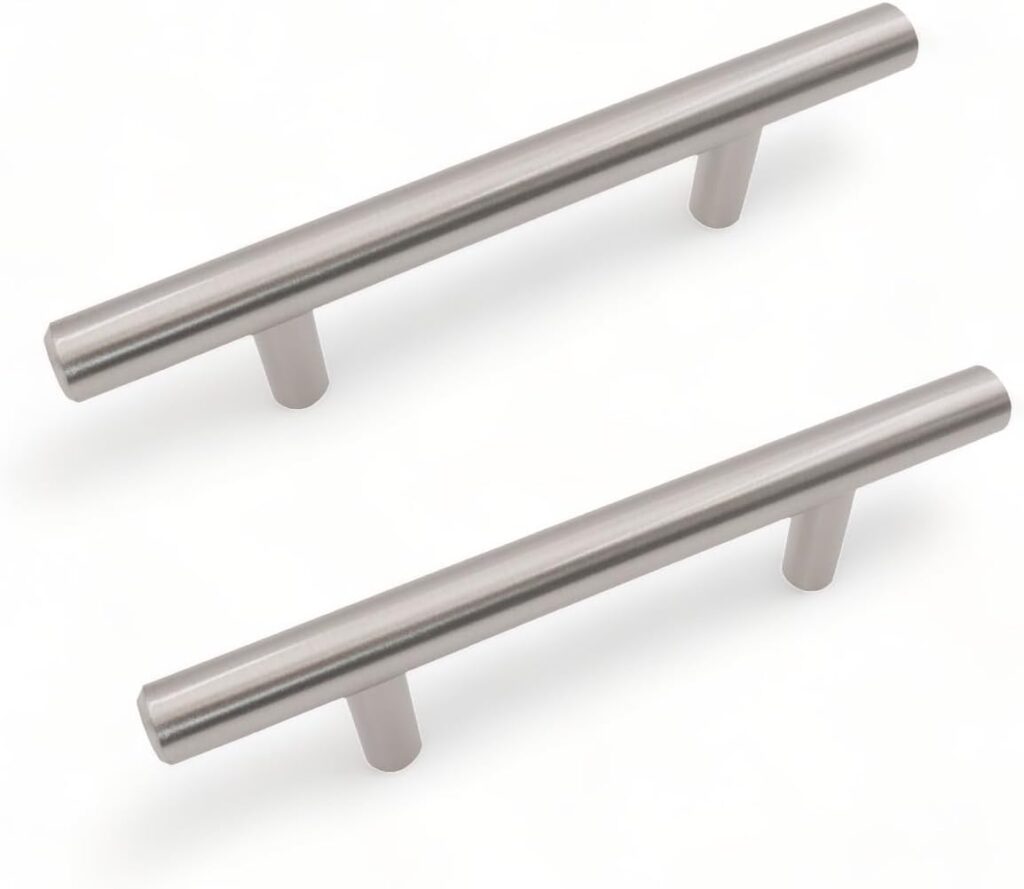
Outdated hardware can age a piece instantly. I swapped out the old handles for simple stainless steel drawer pulls, instantly modernizing the look.
I found very similar ones online here on Amazon.
The Final Result: A Stunning, Budget-Friendly TV Stand
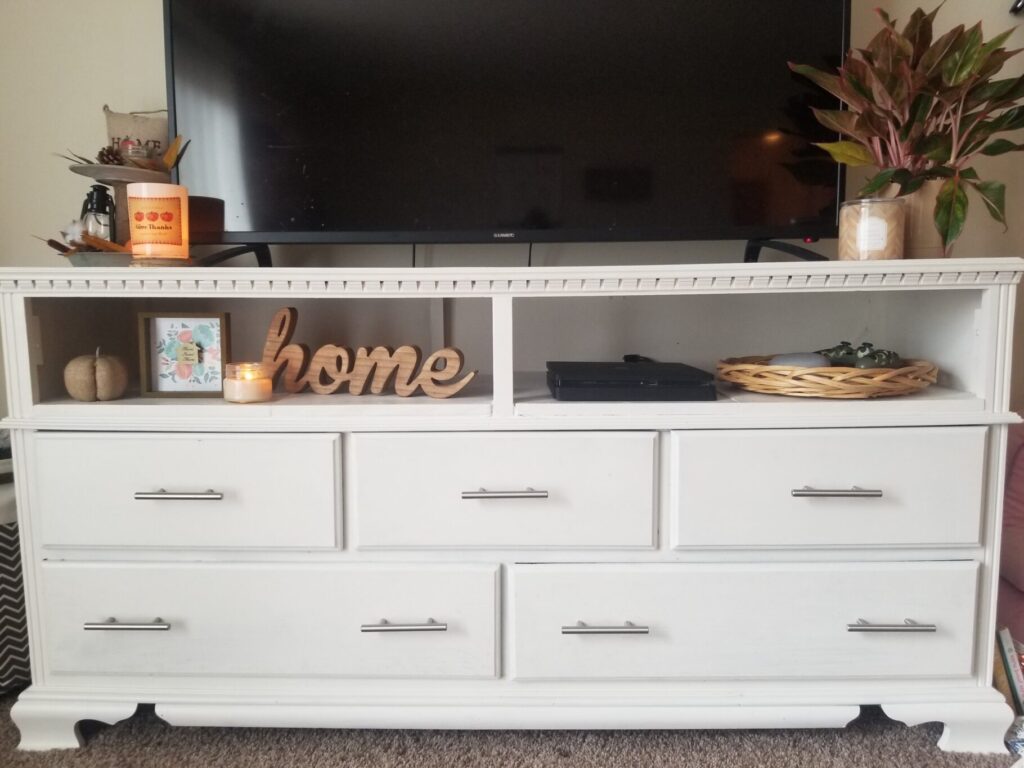
I am so obsessed with the way this came out!
I couldn’t be happier with how this turned out! Not only did it match my space perfectly, but I saved hundreds by DIY-ing instead of buying a brand-new stand.
We used this TV stand for over a year, and it held up beautifully. When we moved, we sold it for a profit—proving that upcycled furniture isn’t just stylish and practical, but also a great investment!
What do you think of this transformation? Would you try it in your own home?
Let me know in the comments!


What an amazing job you did! Looks so contemporary, and what I like best is that the integrity of the furniture piece is still solid 🙂
Thank you! I love how much it still looks like the original piece yet so different. Such a great mix!
I love the new color! This looks sooo much better. I’ve been shopping for a TV stand and you inspired me to do my own like this!
I felt like I was shopping for one forever ( realisicly I was for about 2-3 months ) so I threw in the towel on that idea and decided to get creative lol! Took me about 3 days to find one on FB marketplace!
Wow this furniture transformation is amazing! I love the new hardware and the simple white color you chose.
Wow! What an incredible transformation! You’re really talented.
Thank you! Was very surpirsed how simple it was to do (:
Love how it turned out! And your metal siding! We have metal too!
That is actually the house we are flipping! I am in love with the metal siding and will definilty be using it once we move out of the apartment!
That’s a great idea and such a lovely upscale! I need to repaint they one we’re using in our bedroom!
I highly recommend going with a simple paint and primer! It worked so amazingly and was so inexpensive, win-win 😉
Quite a nice TV stand and you made it out well. Mine is a mix of wood and steel. But I am not an expert like you so I got it painted with a professional. I liked your zeal to create such a nice stand.
You did an excellent job. This brings back memories of the fun time I had when I made one three years ago.
This is such a great idea, and very simple to follow. Even you don’t know how to do a carpentry thing. This one is you’r chance to have a try! <3
Nice transformation! You gave the drawer a whole new look and function. The white paint gave it a more upgraded feel, too. Well done!
I love your finished result!! This looks so perfect!
This is such a great and easy DIY! It looks amazing!
You did such a great job..! That diy TVstand looks so nice..! Thanks for sharing how you’ve made it.
I love the transformation from the traditional brown dresser to funky tv stand with retro vibe. That is such an awesome way to upcycle.
Wow, I am so amazed with that work, it’s beautiful and I really love the new look of your TV stand.
That is so beautiful! I’m sure it’s one of your pride and joy of creation.
I love how you refabbed this dresser. Looks really nice. =0)
I love a good DIY project that transforms a furniture piece. You did a great job on this one. I like the updates you made with the white paint and more modern handles.
You have done an amazing job, the tv stand looks so modern! I am moving soon and I will probably buy some old furniture for my new place, which I will need to give a new life to. Your post is very inspiring.
such an excellent idea. i am meaning to change our tv stand for the longest time and still havent found time for it. this inspires me.
This turned out so cute 😍
This was amazing! I love changing old furniture into something. New and vibrant. You should try out fusion mineral paint I used it to DIY a jewelry stand and it was amazing. I will definitely be coming on your blog to check out more DIY’s!
I will definitely have to check that out! I’m glad you like this!
OMG… I never knew that useless things can look so great.
Thanks for the great idea.
I love seeing DIY projects and you did so well with this project. I love the final result x
I love this idea. Will have to remember this when we redecorate our tv room!
I absolutely love your craftiness! What a great addition to your interior! Bravo!
Awesome concept. I’m moving in the next few months and I may consider doing this. Definitely a creative idea.
Wow! What a great outcome! It looks new and perfect! DIY really saves you a lot!
ive been meaning to change our tv stand for the longest time. you did an awesome job here and this truly inspires me.
I like the result of this DIY. It looks good and beautiful as new! Looks really so satisfying!
Wow.. It turned out so great..! Thanks for sharing how you’ve made this gorgeous tv stand. I will definitely try this.
You manage to create art from ordinary things. What a useful skill that you have. I love watching the transformation. As if you are giving new life to those things.
Oh wow, I love how creative you are doing this TV Stand. It is really beautiful and would love to try it myself.
What a transformation! It looks so much sleeker and modern now. Thanks for sharing this.
Super cute and cretaive DIY! it looks awesome, well done you. I am actually not sure if I could manage doing it myself
We are moving to Florida next year and this is the type of entertainment center I am looking for! It makes much more sense. They are soooo expensive!
Wow the revamp of this old tv stand is amazing! I am inspired I would love to do this I need to go thrifting and repurpose some furniture.
Did you guys have to sand it at all to help with the paint portion?
No! This was not real wood, we did not sand at all.