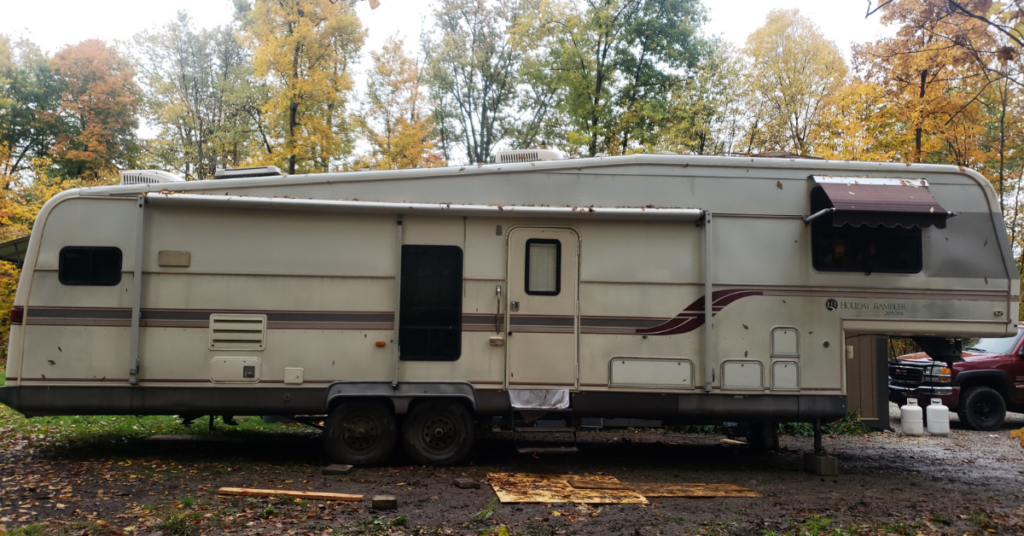
This past summer we began looking to do a 5th wheel camper renovation! We quickly came across an amazing deal on this fifth-wheel camper. It was well maintained and the owners simply wanted it out of their yard as they hadn’t used it to do their usual travelling in a very long time.
We snagged this 5th wheel camper for only $800! Perfect for a renovation budget and well under the value of this fifth wheel. Starting us off way under our fifth wheel renovation budget and eager to dive in.
This post may contain affiliate links. This means I will receive a portion of what is purchased through the links on this blog at no additional cost to you and this does not affect the products I choose to share or my opinions on them. Read more at my full disclosure.
Better yet, the family we purchased this from was local. Being local made transportation much cheaper and easier.
We had been looking for a great camper we could renovate for our family for some time and knew this one would be everything we wanted! It had a good layout, a stackable washer, and dryer, and really only needed cosmetic work done to be liveable and comfortable.
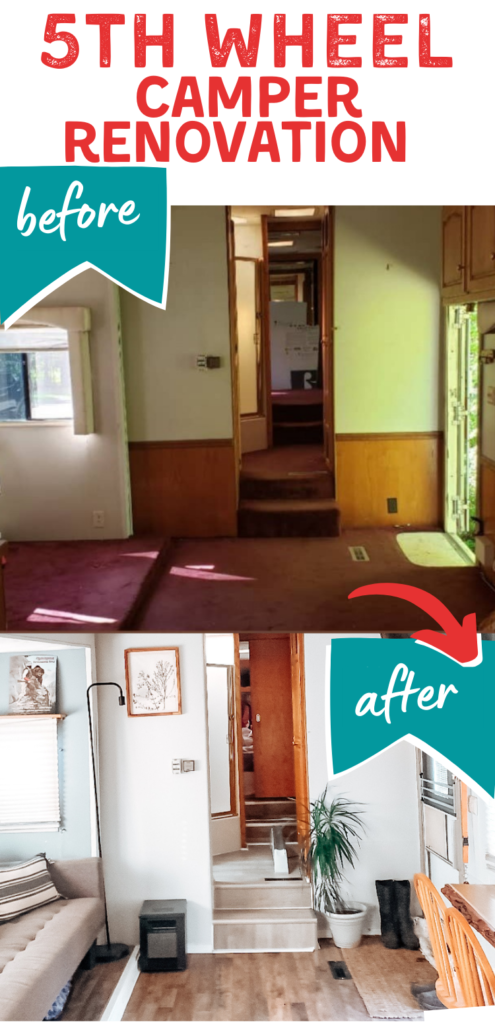
Before- 5th Wheel Camper Renovation
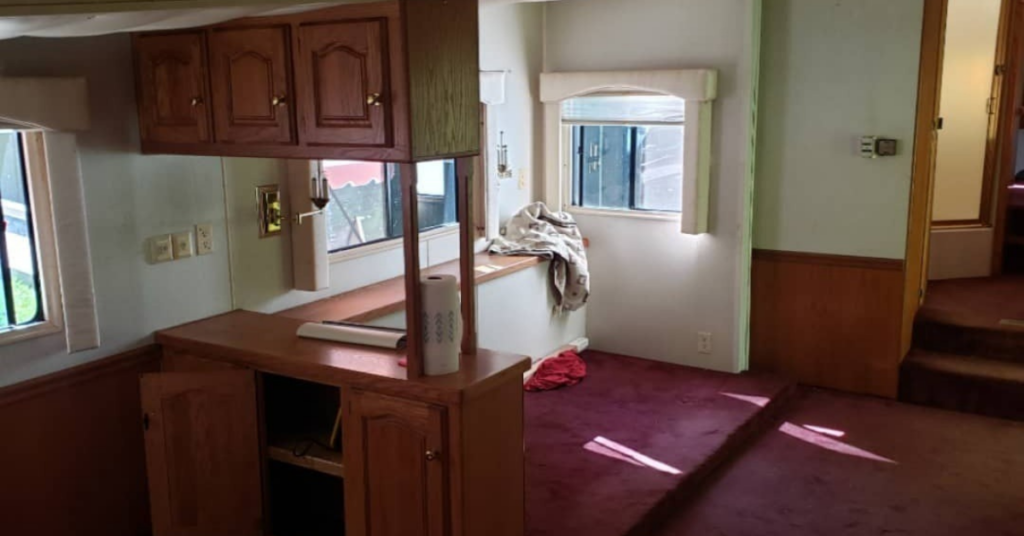
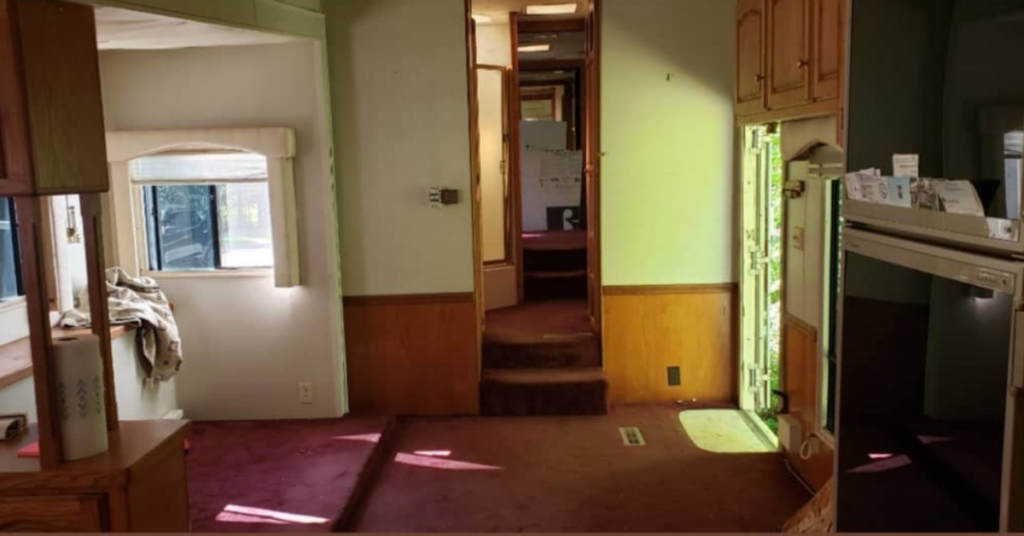
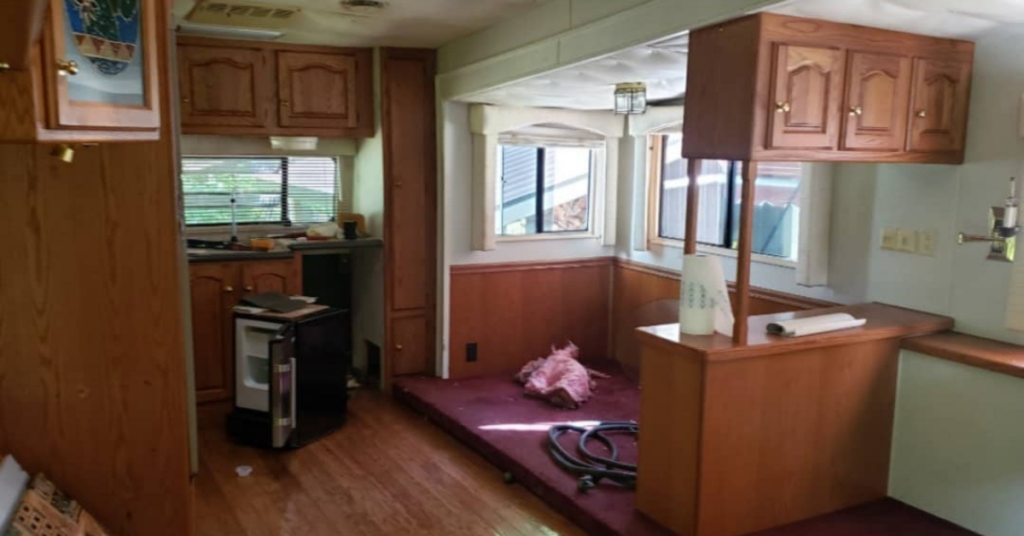
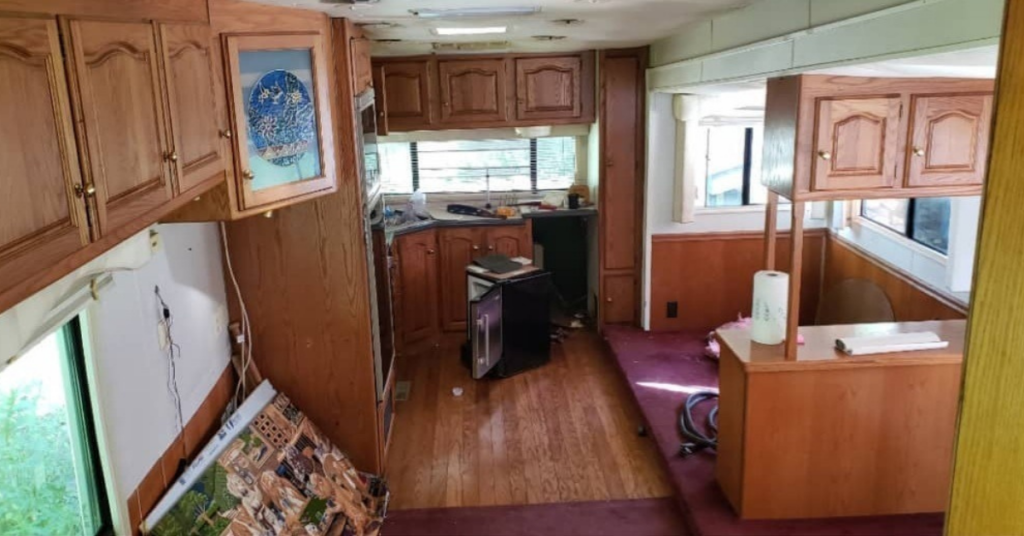
There were a few minor issues the guys were easily able to fix without much problem. For the age and model, the hardest thing was finding the correct parts.
The dining table and couch had already been removed when we purchased this travel trailer. We didn’t mind as we would have tossed them anyhow! This gave us a great open slate to start our work.
The space seemed very dark with the wood and carpet. It was all outdated, but had good bones.
The Process-
First, we had to spend some time cleaning it out. Although the furniture had been removed there were tons of random things left behind inside.
Paint, Wallpaper and Tile
As we cleaned it out we also took down the cabinet doors in preparation to paint.
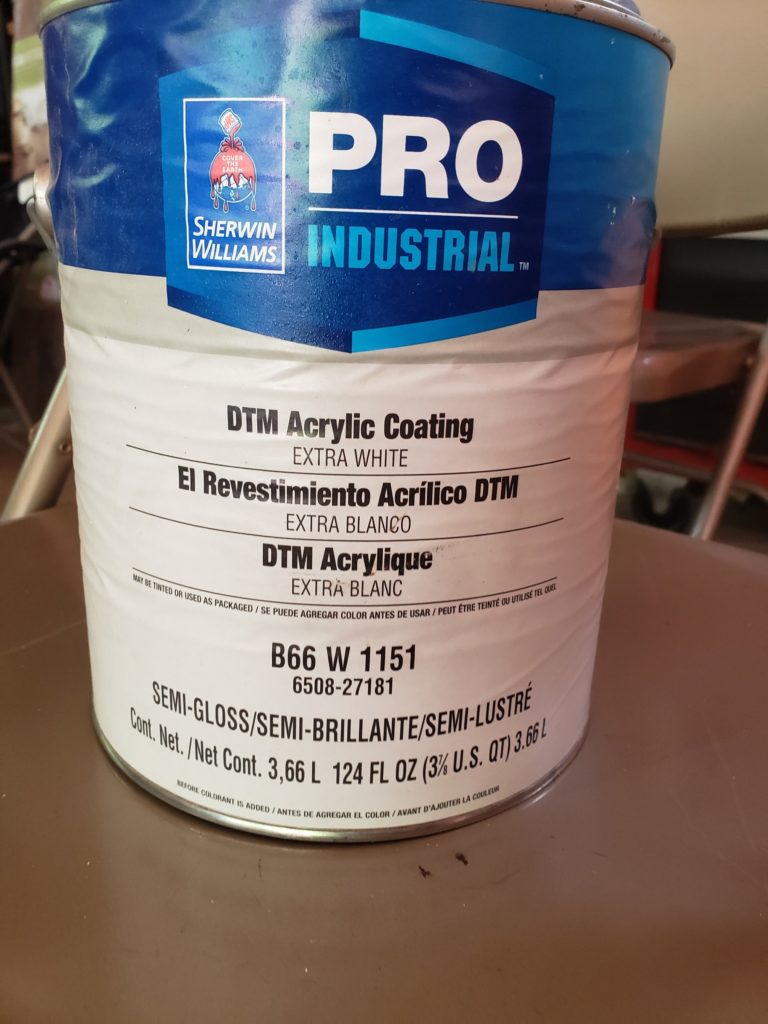
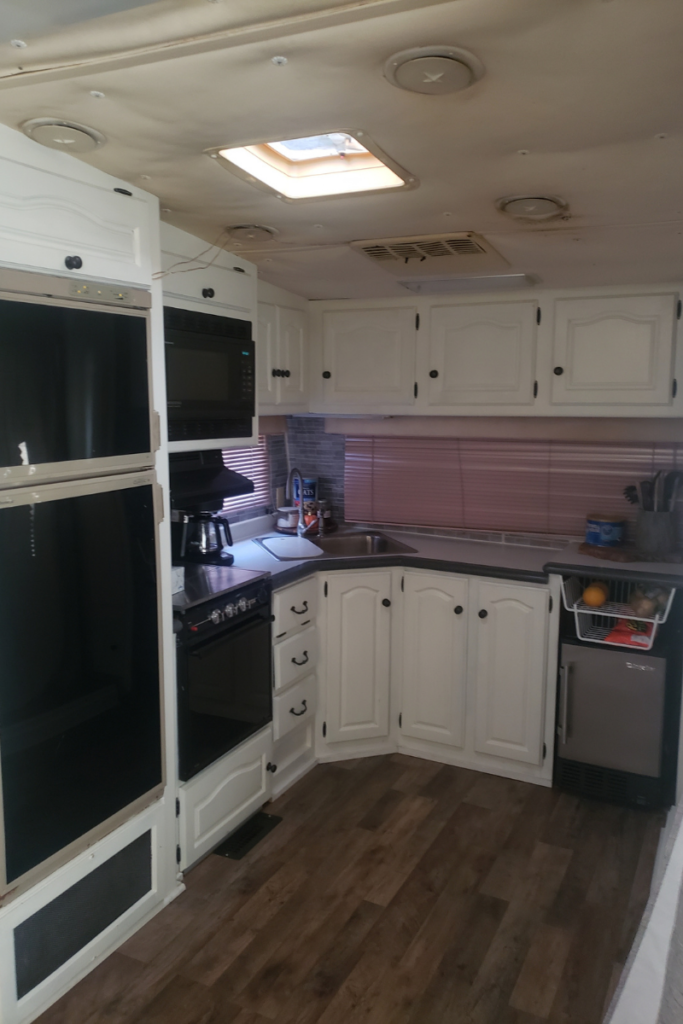
We painted all the cabinets white with Sherwin Williams Pro Industrial acrylic paint. This was also something that had been left over from another job of Brandon’s. This paint is a great quality, we did not use a primer but did put on three coats of paint. We sanded down the cabinets and started to paint!
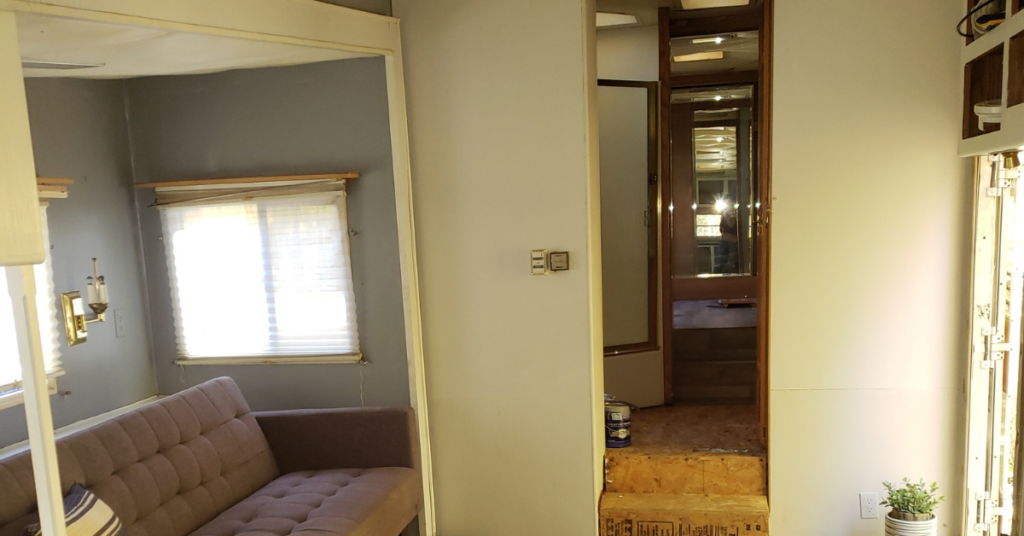
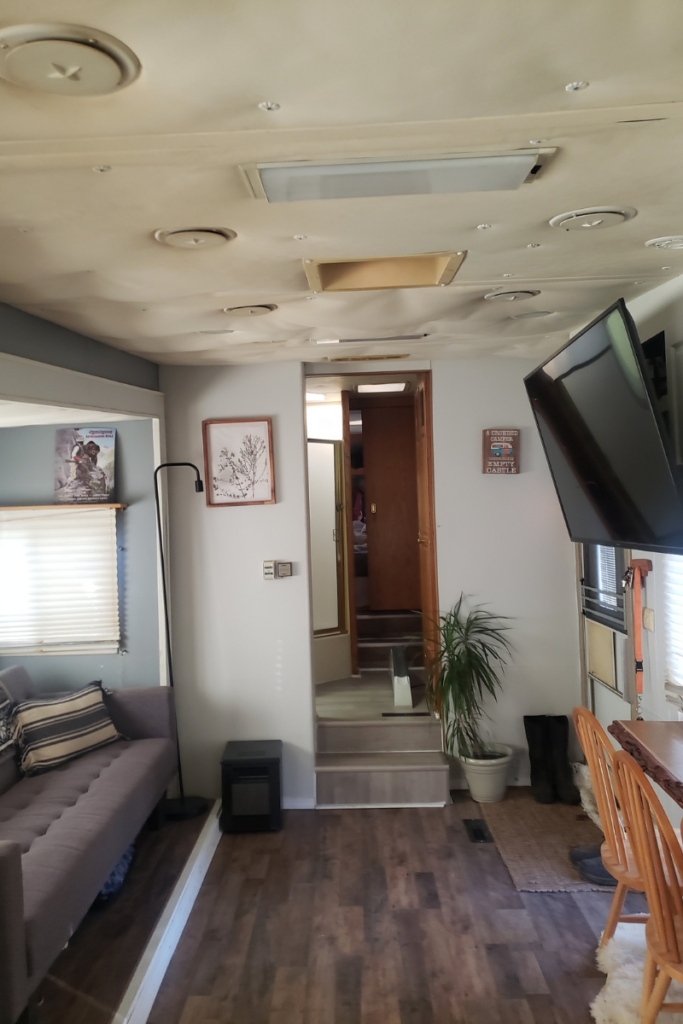
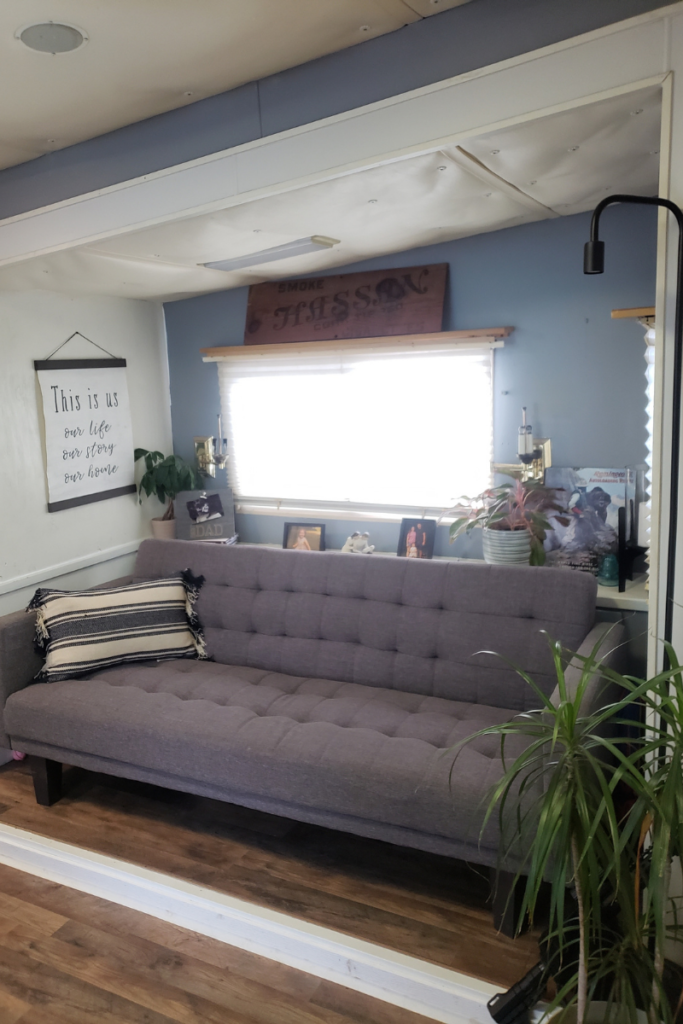
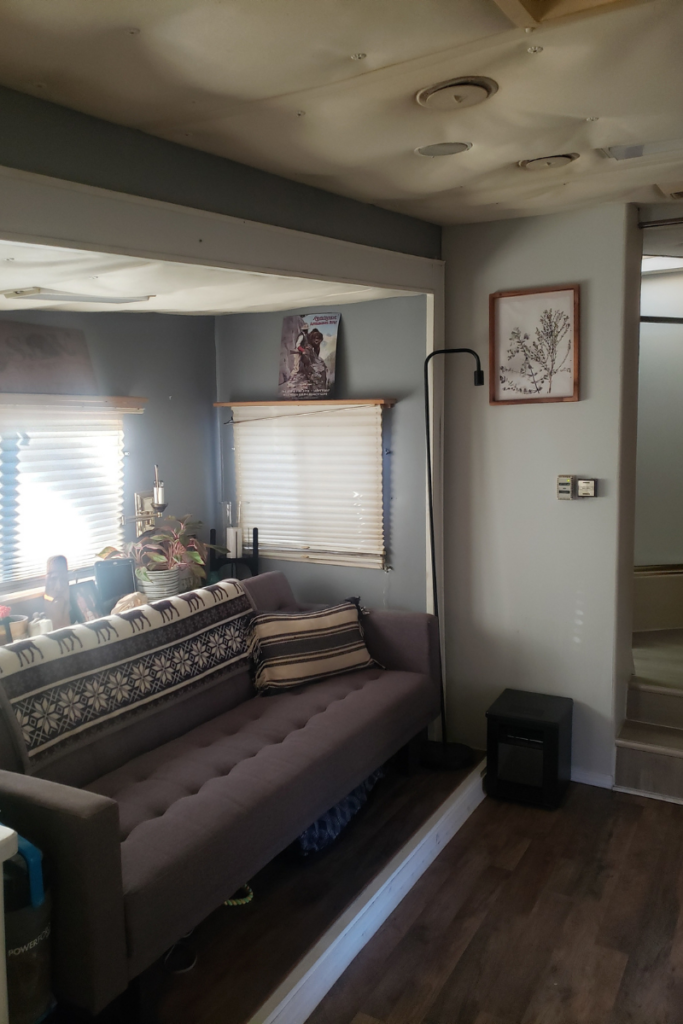
We painted the walls of the slideout a darker gray which we had leftover from one of Brandon’s other jobs. The rest of the walls were painted a very light gray. In some lighting, it would look more like an off-white color because of how light it was.
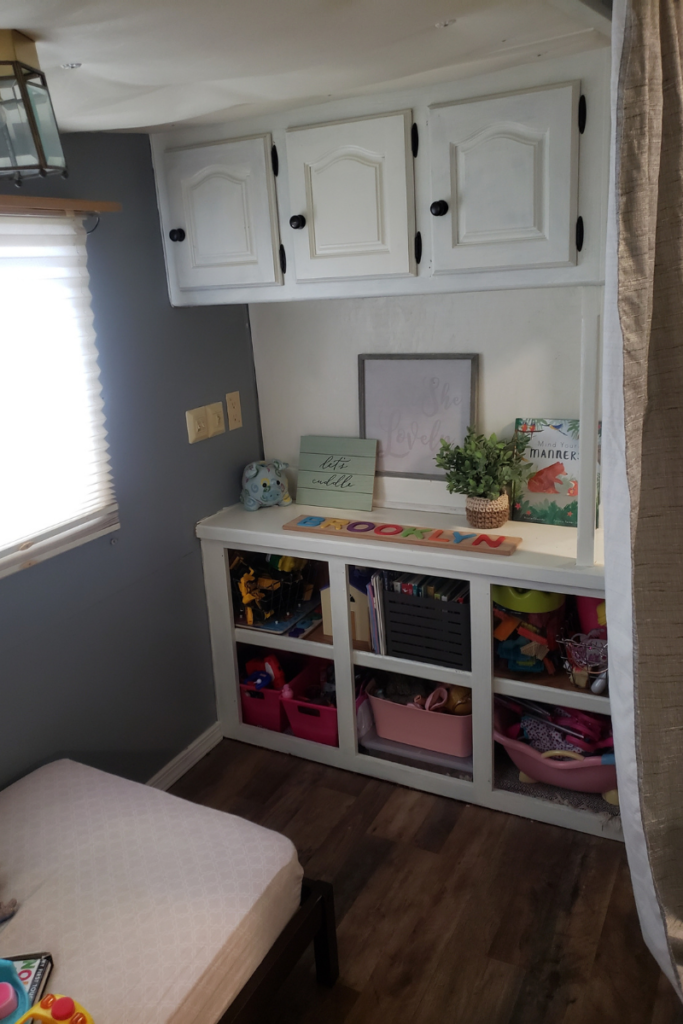
We also did an accent wall in Brooklyn’s bedroom with a peel and stick wallpaper from cloud island linked here. This was a little challenging to do actually. It did not line up correctly and we only grabbed one roll and before we could get more it was sold out. We didn’t want to do more of the space with this but having extra material would have made it line up much easier.
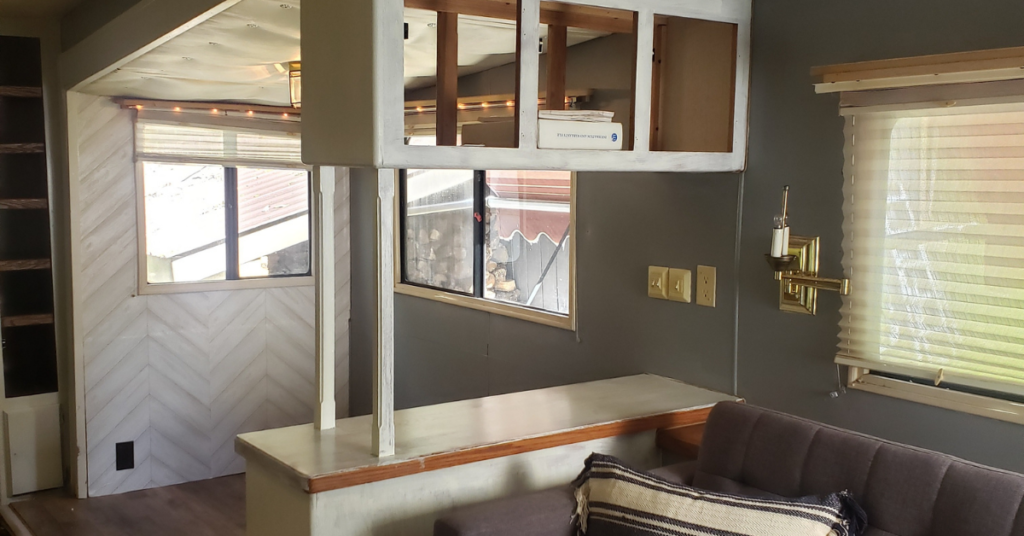
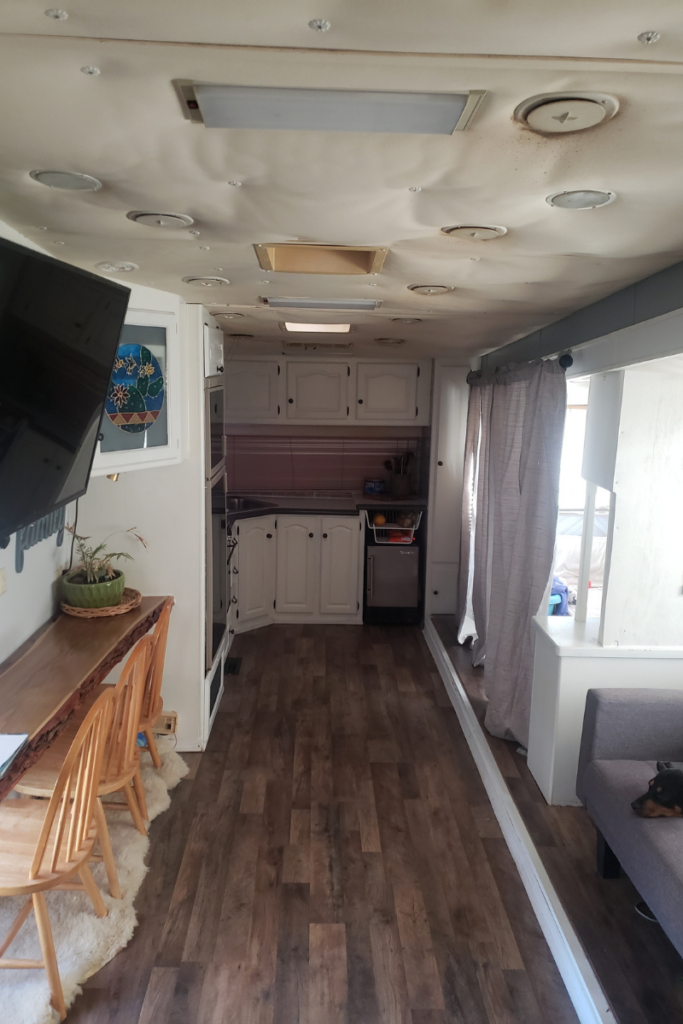
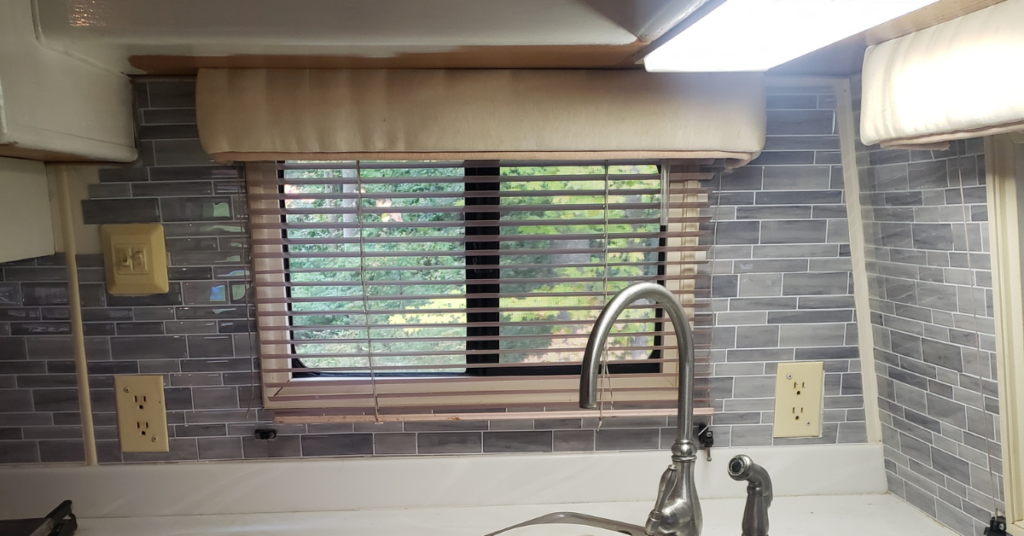
In the kitchen, we added this peel-and-stick tile from Amazon. It made such an impact on this space and wasn’t too hard to accomplish! The hardest part of this was to cut the “tiles” correctly so the grout lines matched up. The key is just to take your time.
This stuff is great for travel trailers as it is so lightweight but also for renters who want a non-permanent or damaging upgrade!
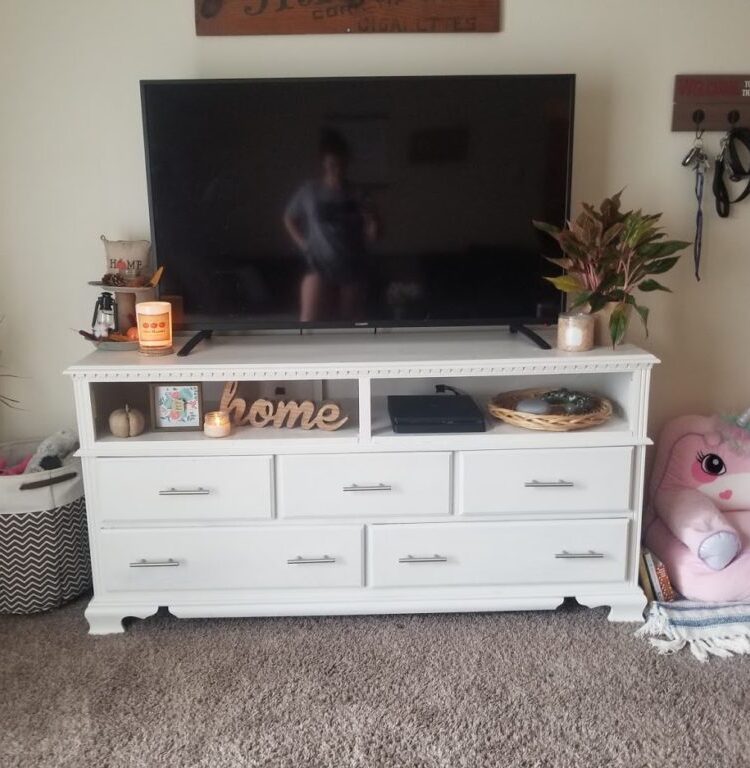
Read: DIY TV stand from old dresser
Flooring
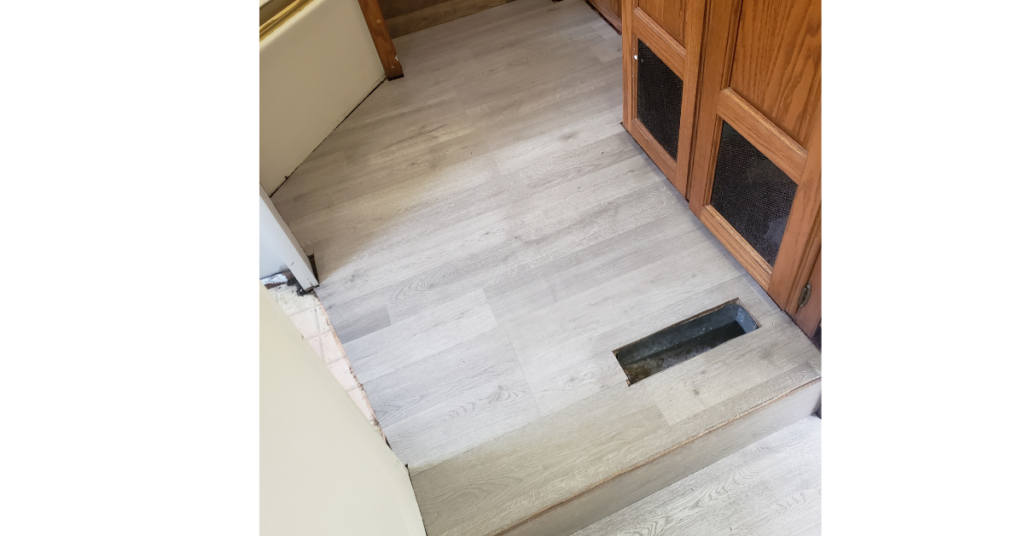
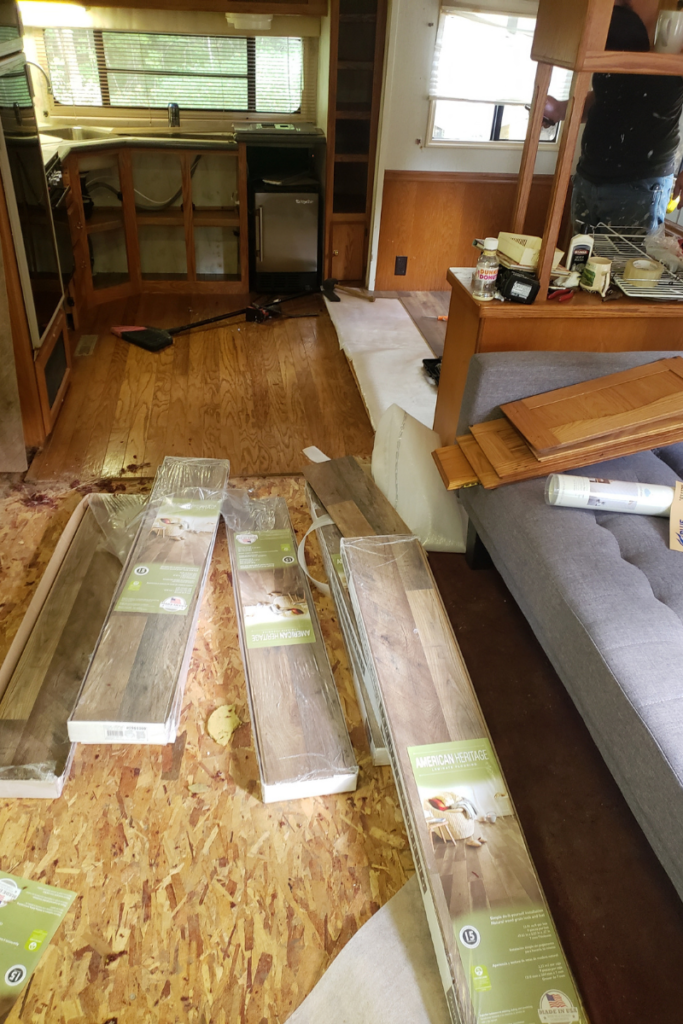
For flooring, we went with these American Heritage laminate boards in Florian Oak I found similar one on amazon. We decided to do another, lighter color flooring in the bathroom area. We decided on a light gray.
As you can tell by the photos we began doing flooring first. We did this for a few reasons, my brother had come over to help install this and wanted to make sure we worked around his schedule and we had this material before we had the paint. I would recommend painting first as it will save time in prepping the new floors to make sure they do not get any paint splatter.
Hardware
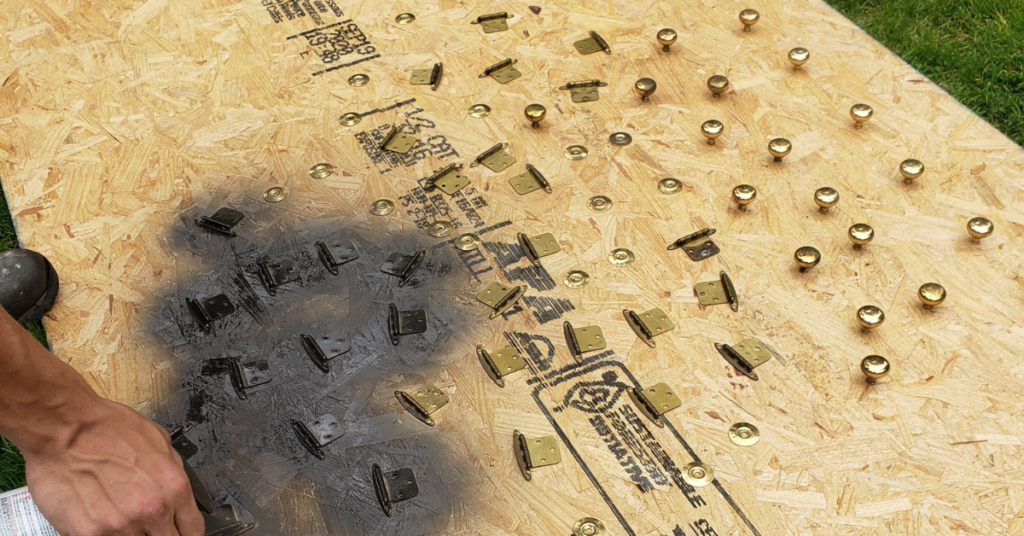
For the hardware in the kitchen and living spaces, we used the Rust-Oleum Universal spray paint in Oil Rubbed Bronze. After taking all hardware off of the cabinets, we laid it out on a piece of plywood to easily coat everything.
Dining Space and Kids Bedroom
We decided we would make the original dining space B’s room and add seating elsewhere in the camper.
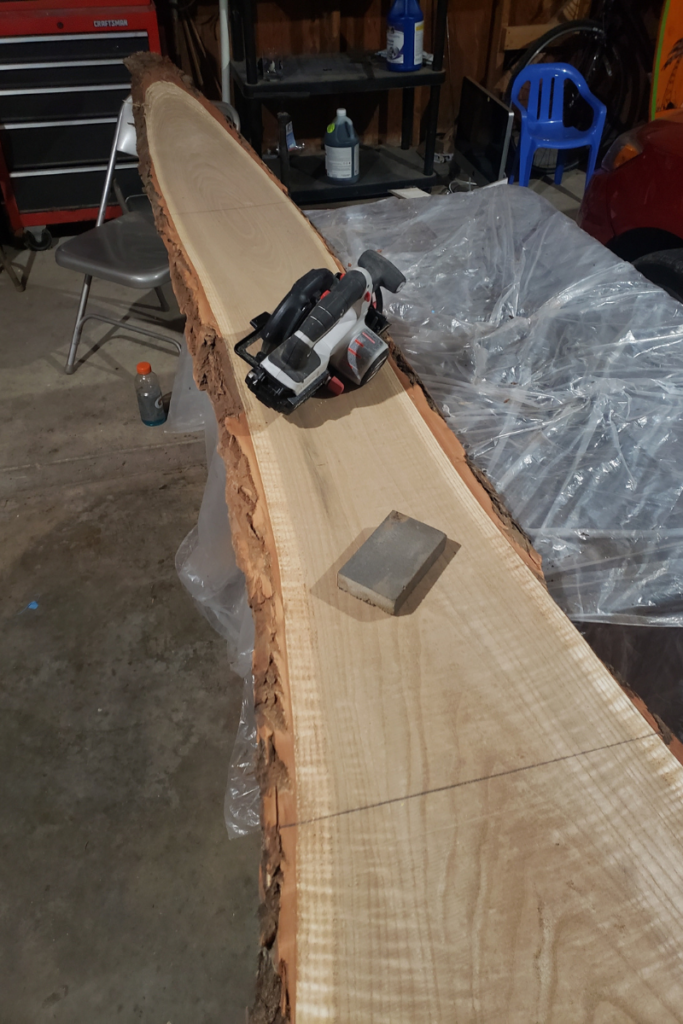
The best option we came up with within the space was to add a floating table along the wall underneath the cabinets and TV. There had also been a cabinet down in this space that was removed prior to us buying the camper.
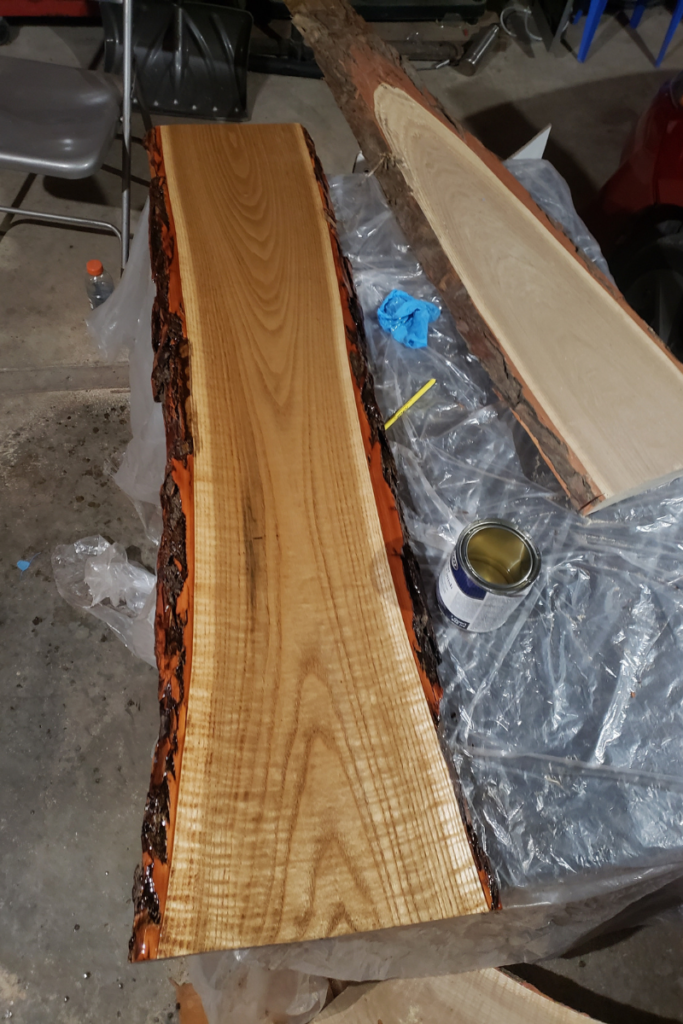
We went to a local wood mill for a beautiful piece of live edge. We cut it down to length and coated it with this clear wood finish gloss. I absolutely loved how this turned out! It was such a conversation piece for anyone who came over!
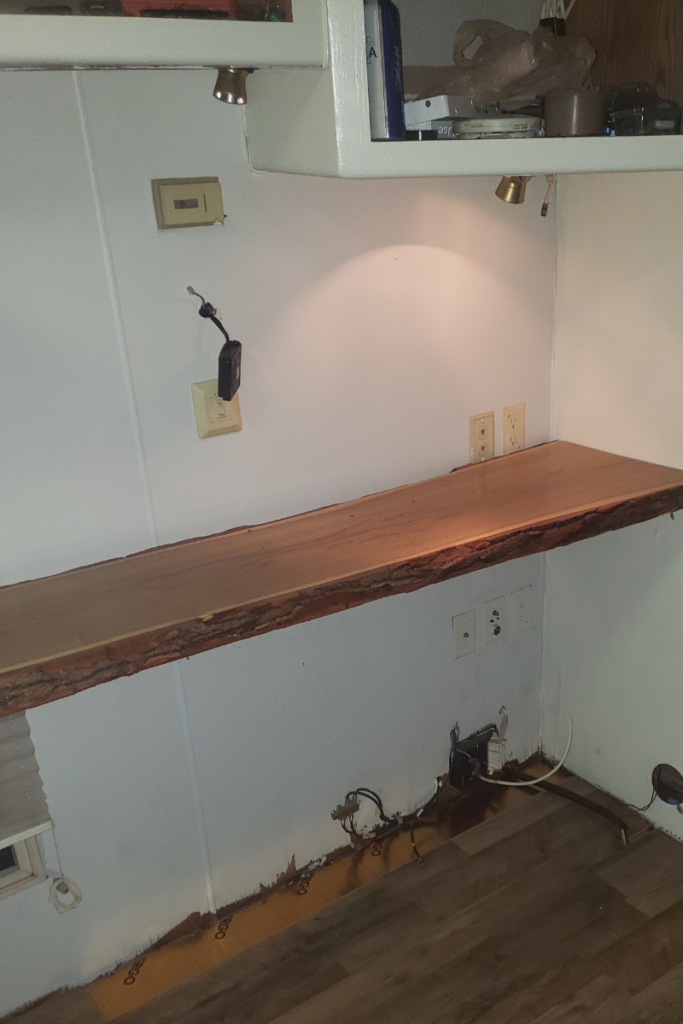
To enclose B’s new room we hung a curtain rod and curtains to the main opening. This still left the cabinets open to the living room, we added a piece of plywood here and painted it to match the cabinets.
We didn’t do much work in the bedroom or the bathroom. We did paint some of the bathrooms with the same light gray as on the rest of the walls. Although we did have plans to upgrade this in the future weren’t able to get around to it before we decided to sell.
We found a few good deals on Facebook marketplace including a futon sofa bed and the three dining chairs. The rest of the decor was a mix of some fun new items we purchased and some items we already had.
After – 5th Wheel Camper Renovation
Overall, I love how this 5th wheel renovation turned out! It was a fun project to complete and came together so beautifully. We lived in this 5th wheel for two months in Tennessee while we did work down there before coming back up to NorthEast Ohio.
It was an amazing experience! Such a different pace of life living tiny but we enjoyed it.



What an incredible transformation! Looks great
Abbey,
You’ve done a tremendous renovation of this camper.
From dark and unattractive, you’ve created a light that will take you to so many places when you travel.
Thank you!! I love how bright and airy it ended up feeling inside, it is a fun space to stay while exploring!
OMG I am so obsessed! 🙂 I hope that at some point my husband and I could do this.
I hope you get to experience this one day! It’s been a super fun journey. I think the key, especially if you aren’t used to large projects like this, is to take your time and spend the extra time to really plan everything out!
Post that is interesting and inspires me to change the appearance of the paint color of my workspace walls to make them look brighter.
Greetings from Indonesia.